Wild Lambic Starters
Authentic lambic-style beers are a bit like the white whale in the sour beer world. True lambics are naturally fermented, usually inoculated with the microbes that have accumulated in Belgian breweries over generations in the air, the wood, the barrels, and even the dust on the ground. After an intensely complicated mash designed to maximize the presence of complex sugars that Saccharomyces won’t easily be able to break down, they’re poured into large, flat, open tanks called coolships to come down to temperature naturally. As they do, microbes fall into the beer and begin the fermentation process.
It isn’t absolutely clear how abundant the microbes that make good lambic are in the wider world. Some traditional lambic brewers have been known to take their ceiling beams with them when their brewhouse changes location, or to spray down the new brewhouse with barrels of good beer to innoculate it with the proper microbiom. However, breweries in America have demonstrated that good lambics can be produced locally without generations of microbe training and selection.
I could have just mixed some DME and called it a day, but I thought that making a more traditional lambic starter might make the microbes feel more at home as they age. Plus it gave me the chance to try a proper wild microbe capture on the back porch. I’m moving to a new house down the street fairly soon, and I wanted to take something fun to remember all the great nights I had back there.
In Belgium, there are fairly strict rules about the grain bill that makes up a traditional lambic. They should be between 30 and 40 percent unmalted wheat, which I happened to have on hand for feeding my sourdough starter. For my lambic starter, I went with 50 percent Pilsen malt (also from Belgium) and 10 percent flaked oats, just because I had them.
I’m completely new to turbid mashes, and for this experiment I was brewing in a bag which made things both a little bit more complicated and a bit simpler. In an authentic turbid mash, you would keep a hot liquor tank on standby and gradually add more hot water to achieve a number of different heat rests, while simultaneously taking out wort that you raise to a temperature high enough to stop the enzymes that break down the complex sugars in the grain.
I didn’t have the materials on hand for that, so I ended up mashing in at around 130 - essentially skipping the “doughing” step - held it there for 20 minutes, and then pulled out a bit of wort to raise to 190. I then raised the main mash to 150 with my stovetop burner, let it sit for 30 minutes, and removed more wort to add into the turbid section. I flamed out at 160 for 10 minutes before draining the rest of the hot wort and adding back the turbid section to the grains for 20 minutes. (Allegedly this last step accomplishes important enzymatic interactions, but I have no idea what they would be.) I finished with a bog standard 20 minute batch sparge at 170 and a pretty standard boil with no hops.
One thing I wish I had thought to do is measure the amount of liquid present so that I could portion off actually hot wort to cool overnight on the porch. Instead, I ended up cooling everything to around 80 degrees, transferring a gallon into a fermenter to pitch the dregs onto, and putting out the remainder on the porch to collect microbes (with a cheesecloth to prevent actual bugs from getting at it). I have no idea if this makes a serious difference, but you never know. I transferred that to a sanitized fermenter the next morning, capped it, and put them both in my closet to get weird.
When I returned from my trip about a week later, both fermenters were slowly bubbling away. Sadly, I have no way of knowing how vigorous either ferment was during that first week, but it’s definitely encouraging that both of them are showing signs of life! Per Michael Tonsmeire AKA The Mad Fermentationist, open ferments tend to get a bloom of enterobacteria early on that can be dangerous to drink. After three weeks, that danger has mostly cleared up and they are (mostly) safe to try again as long as they are visually free of mold and particularly bad smells.
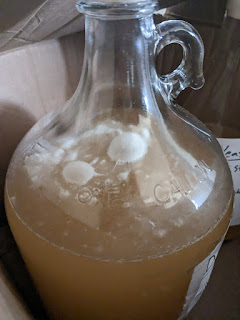
Three weeks on, the gallon with dregs is still bubbling and has formed the beginning of a gorgeous looking pellicle! Pellicles aren’t necessary and, allegedly, don’t really mean anything for the final character of the beer, but they are a sure sign of non-Saccaromyces activity happening in your beer. The porch microbes starter seems to have finished its active ferment and has no pellicle. That isn’t necessarily a problem, but it does make me wonder if it managed to capture viable non-Sacc microbes. Today is tasting day (hooray!) so I’ll be taking a sample to investigate further.
Stats:
Volume in Fermentor: 1x 1 Gallon + 1x 1200 ml
Starting Gravity: 1.036
Water:
- 1 Gallon Turbid Mash*
- 1 Gallon Batch Sparge
Fermentables:
- 1 lbs Pilsen Malt
- 0.8 lbs Unmalted Winter Wheat
- 0.2 lbs Flaked Oats
Bittering/Flavoring Additions:
- None
Other:
- None (Bottled Water)
Microbes:
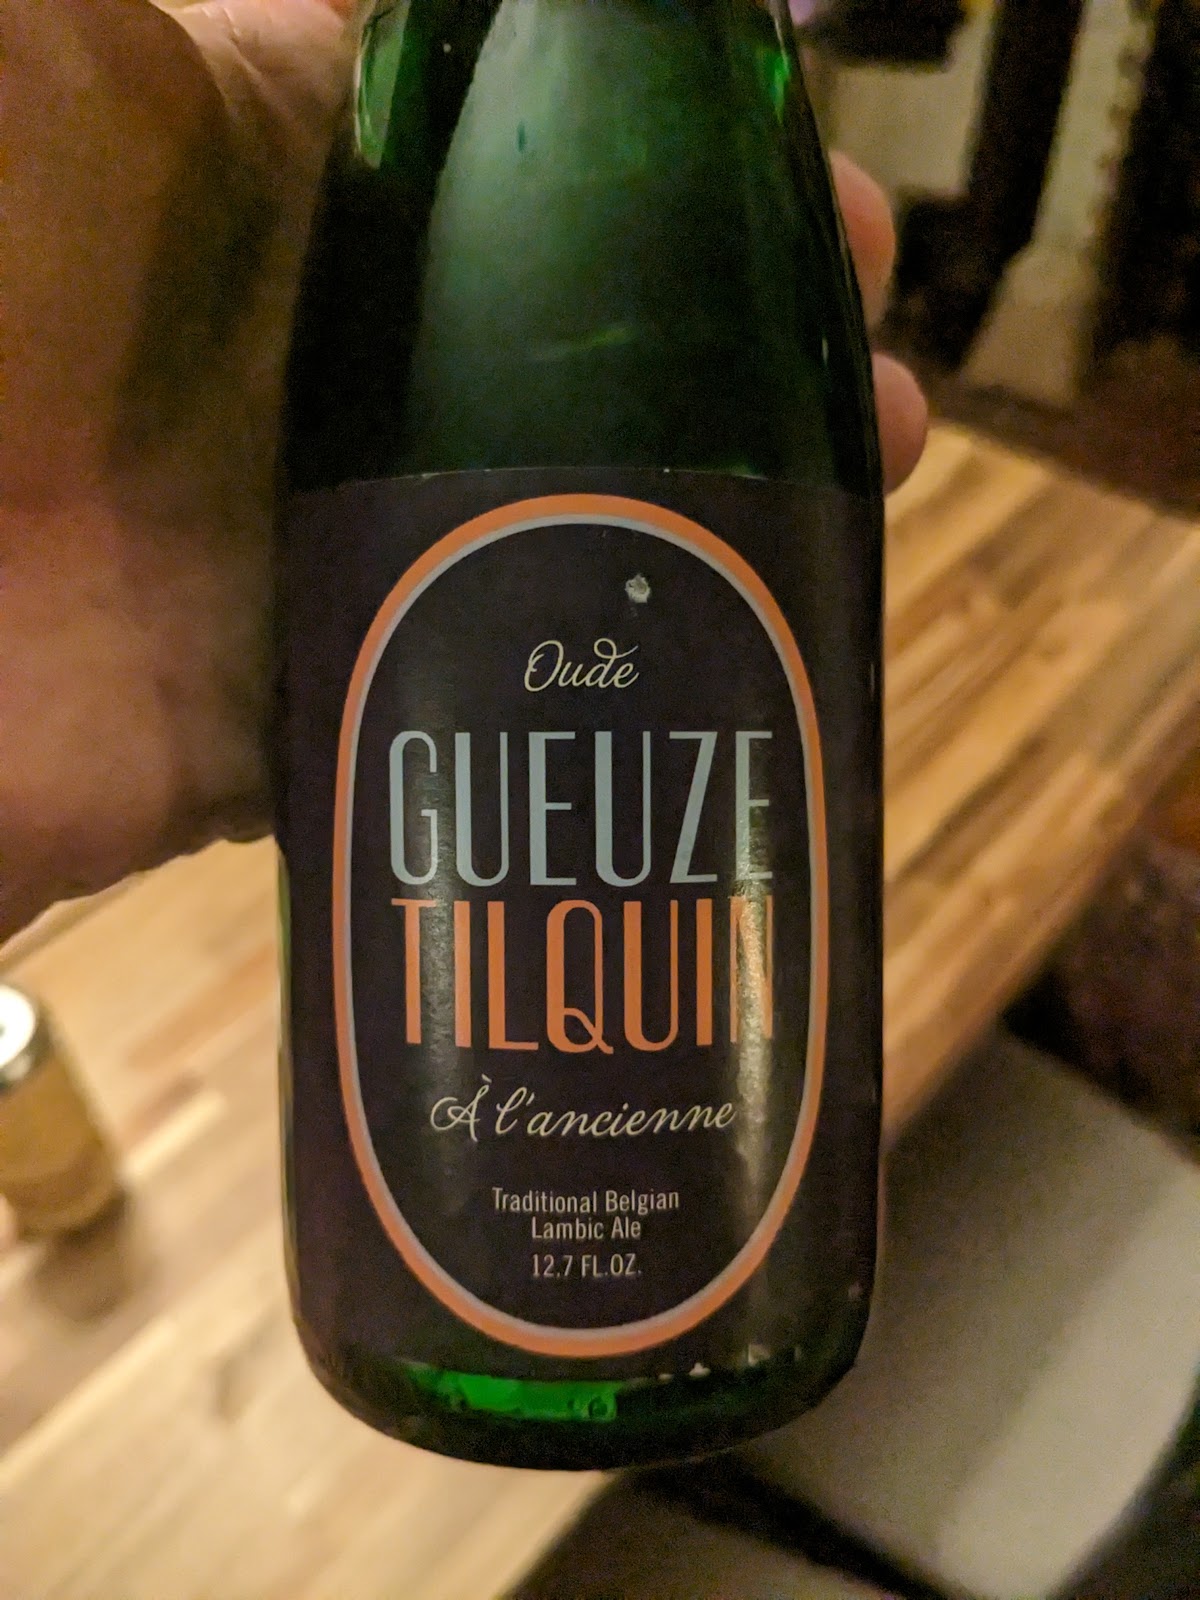
- 1 Gallon - Dregs from (two beers to be mentioned)
- 1200 ml - Microbes from the air on a DC porch at night in late May
Schedule:
- Mash in at 130, hold for 20 minutes
- Remove ~10 percent of wort, raise to 190
- Raise mash to 150, hold for 30 minutes
- Remove ~25 percent of wort, raise to 190
- Raise mash to 160, hold for 10 minutes
- Drain mash, pour reserved portion over grains, hold for 20 minutes
- Drain mash again, sparge at 170 for 20 minutes
- Boil for 1 hour
- Cool and transfer 1 gallon to a sanitized fermenter, pitch dregs
- Transfer remaining wort to a ceramic dutch oven, cover with cheese cloth, leave to cool overnight on porch, transfer to a sanitized fermenter in the morning
Notes:
* I performed a bit of an abbreviated turbid mash this time, mostly because I wasn’t familiar with the procedure and missed some early steps. The point of a turbid mash is to stop enzymatic activity in the wort, leaving more sugars in there that Saccharomyces can’t ferment so that other bugs get a leg up. I think (hope) that this was still pretty successful.
Comments
Post a Comment